
Imagine your website suddenly going viral. Exciting, right? Now imagine it crashing under the pressure, leaving thousands of potential customers staring at an error message. Not so exciting anymore. That’s the reality many WordPress website owners face when their site unexpectedly experiences a surge in traffic.
But what if you could predict and prevent such a disaster? That’s where stress testing comes in. Stress testing, also known as load testing, involves simulating heavy user traffic on your WordPress site to identify its breaking point and areas for improvement.
It’s a crucial process for ensuring your website can handle peak loads and maintain performance, delivering a positive user experience even under pressure. In this article, we’ll guide you through the essential steps to stress test your WordPress website, equipping you with the knowledge to identify bottlenecks, optimize your site’s performance, and safeguard your online presence from unexpected traffic surges.
Get ready to discover how to bulletproof your WordPress site and ensure it remains a reliable and high-performing asset.
How to Stress Test a WordPress Website: A Comprehensive Guide
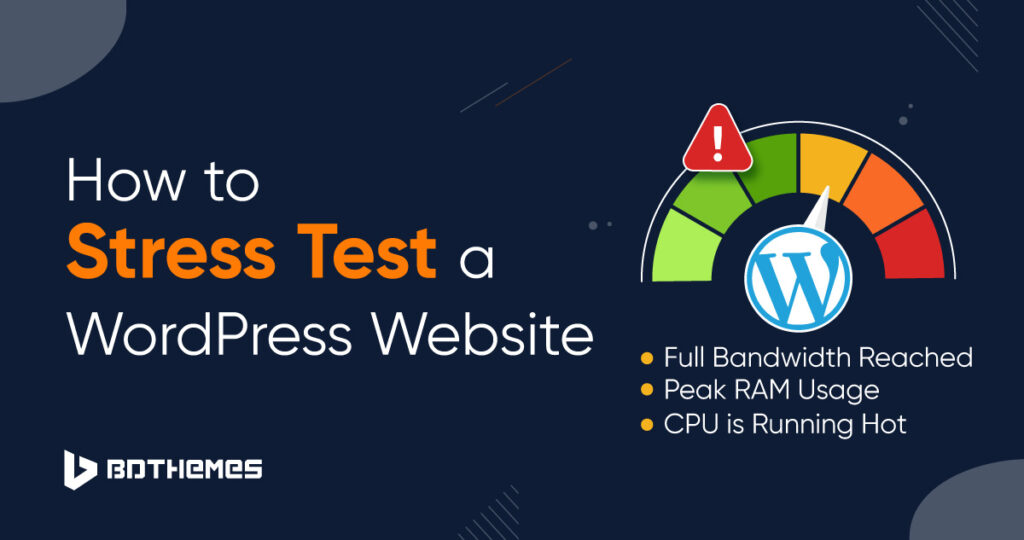
Ever wonder if your WordPress site can handle a sudden surge in visitors? A stress test reveals the breaking point.
It simulates peak traffic, identifying weaknesses before real users experience them. This proactive approach guarantees a smooth experience.
Imagine the horror of your site crashing during a product launch! Avoid disaster through careful, planned performance evaluation.
Let’s explore how to conduct a stress test, analyze results, and fortify your WordPress website for maximum resilience.
Why Stress Test Your WordPress Website?
Stress testing is like taking your car for a high-speed test run on a closed track. It pushes your site to its limits.
Identifying limits before real users find them is the main goal. This way it’s easier to find bottlenecks early.
Uncover underlying issues you might not notice during normal usage. Solve them early and prevent major issues.
Ultimately, stress testing leads to a more reliable and satisfying experience for your audience. Site uptime is a priority.
It validates your infrastructure’s capacity. Confirm that your hosting and other resources are working well.
Evaluate how plugins and themes impact performance under duress. Detect badly written add-ons which create problems.
Tools for WordPress Stress Testing
Several tools are available to simulate heavy traffic and gauge your WordPress website’s performance. The right tool is vital.
LoadView is a cloud-based platform that mimics real user behavior. This approach yields highly precise simulation results.
Gatling is an open-source tool favored for its flexibility and ability to handle complex scenarios. Use it via code scripts.
Apache JMeter, another open-source option, is a popular choice for general load testing, suitable for many sites.
K6 (formerly Load Impact) focuses on developer-centric performance testing. Integrate with existing workflows.
Locust lets you define user behavior in Python. It is very helpful in specific cases.
Step-by-Step Guide to Performing a WordPress Stress Test
Before diving in, back up your entire WordPress website. This protects against data loss during the simulation.
Determine your key performance indicators (KPIs): response time, errors per second, and resource utilization. A clear plan is required.
Pick the right tool that aligns with your technical proficiency and testing requirements. The more customized, the better.
Configure the testing parameters: concurrent users, ramp-up time, test duration, and target URLs. Simulating realistic traffic is crucial.
Execute the test and monitor your server resources (CPU, memory, disk I/O) using tools like htop or your hosting control panel.
Analyze the data meticulously and pinpoint areas where your site struggled under pressure. Look at all the statistics given by the testing tool.
Analyzing the Results and Identifying Bottlenecks
High response times indicate potential server or database bottlenecks. Examine database query speeds to improve things.
Error rates signify critical issues. 5xx errors, like 503 Service Unavailable, point to server overloads which are bad.
CPU spikes suggest inefficient code or resource-intensive plugins. Check all plugins carefully for heavy usage.
Memory exhaustion implies insufficient RAM or memory leaks. Upgrade your server for extra resources.
Disk I/O bottlenecks mean slow read/write speeds. Optimize the database and image files.
A detailed analysis will guide your optimization strategies and areas for improvement. Always keep a written report.
Optimizing Your WordPress Website for Performance
Caching is a simple way to dramatically improve website speed. Use a caching plugin to create faster copies.
Choose a high-performance hosting provider and plan. Don’t go cheap if performance is a necessity for your needs.
Optimize images by compressing them without sacrificing quality. Serve them in next-gen formats such as WebP.
Use a Content Delivery Network (CDN) to distribute your website’s assets globally. Serve your website more efficiently.
Regularly update your WordPress core, plugins, and themes. Outdated code creates potential security risks.
Review and deactivate unnecessary plugins to minimize bloat. The less plugins, the better for stability.
Re-testing and Continuous Monitoring
After implementing optimizations, re-test your website to confirm their effectiveness. Keep up with changes over time.
Continuous monitoring is essential to proactively identify and address performance issues. Automatic testing is vital.
Set up alerts for key performance indicators (KPIs). Notifications give you a warning for possible issues.
Regularly revisit your stress testing strategy to adapt to changing traffic patterns and website updates. Never let your website sit idle.
Performance tuning is an ongoing process. Continuously improve your website’s capabilities over time.
A stable and fast website is a good way to keep users engaged, so keep them from leaving.